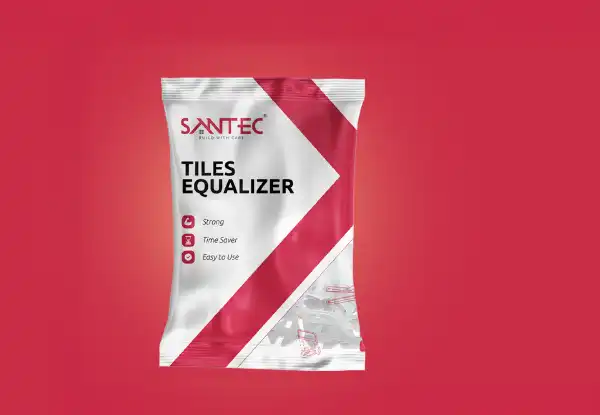
Precision clips for creating even tile joints and a level finished surface.
View detailsTile Levelling System: Clips, Wedges, Pliers & Spacers
Santec tile levelling tools help tilers set large and small tiles flat, with even joints and less lippage between neighbouring tiles. Use them with a Santec tile adhesive and grout for a complete installation.
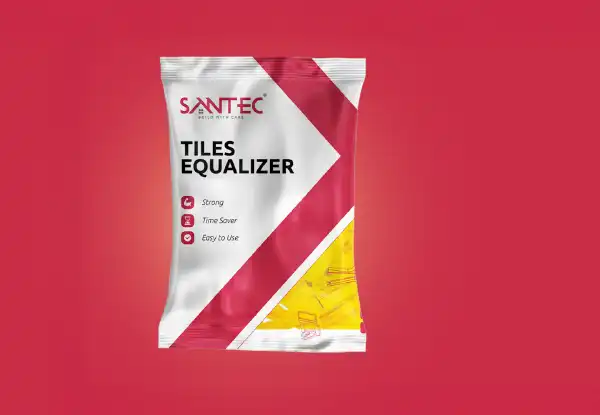
Reusable wedges for fast, accurate tile levelling during installation.
View details
Ergonomic plier for applying consistent pressure to levelling systems.
View details
Adjustable levelling tool for correcting tile height and alignment.
View details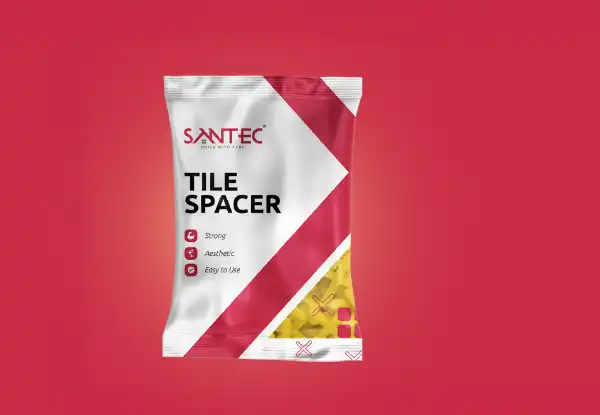
How a tile levelling system works
A levelling system holds the edges of neighbouring tiles at the same height while the adhesive sets. Clips go under the tile edges at the joints, wedges slide through the clips, and the levelling plier tightens each wedge with steady, even pressure. Spacers keep the joint width the same across the floor or wall.
- Spread the tile adhesive with a notched trowel and place the first tile.
- Slide levelling clips under the tile edges, then place the next tile against them.
- Insert a wedge through each clip and tighten it with the levelling plier until the tile faces are flush.
- Use tile spacers to keep joints even, and check the surface as you work.
- Once the adhesive has set, remove the wedges and the top of each clip, clean the joints and grout.
Which adhesive to use with levelling clips
Levelling tools are most useful with large-format tiles, slabs and natural stone. For these, choose a deformable C2TES1 adhesive such as Santec Bond Extra 506 or, for white marble and light stone, Santec Bond Extra 607 White. For everyday ceramic and vitrified tiles, see the full tile adhesive range, then finish the joints with Santec 2K Epoxy grout.